Spring Crafts
Spring is in full bloom! The weather is warming up, birds are singing, grass is getting greener, and the winter cold has washed away. Spring is a fresh start and a perfect time to get busy with some fun crafts! The following crafts are great for adults but can be adjusted to a simpler version for kids as well!
 Painted Mason Jars / Flower Vases
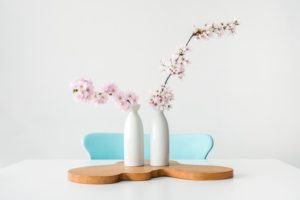
Painting is always a fun project, but have you ever tried painting a mason jar or flower vase? This can be as simple or as detailed as you would like and is also very kid friendly! Grab some mason jars or flower vases, a range of paint colours, brushes, and get busy! A nice design is to first paint the jar white as a base, let it fully dry, and then add a design on top! Try playing around with spring colours such as yellow, pink, and green. When you are all finished, take a walk to go pick a bouquet of wildflowers to put in your new vases!
Tissue Paper Flowers
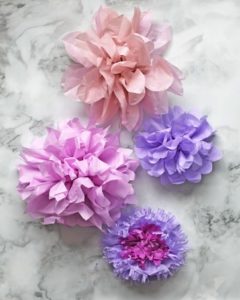
If you didn’t get a chance to find some fresh wildflowers for your new vases, why not try to make some cute tissue paper flowers that will last much longer? Tissue paper flowers are simple to make and are a nice touch to add a pop of colour to your home for spring! All you will need are pipe cleaners and tissue paper! Simple how-to below:
- Layer about 8-12 pieces of tissue paper of either the same colour or a couple colours that go well together
- Using a cup, trace a circle out onto the top sheet of tissue paper and cut it out
- Cut two small holes in the center of the layered tissue paper
- Take a pipe cleaner, put in through one hole and loop it through the other
- Lastly, you just need to scrunch up each layer of the tissue paper, going from the top to bottom
- You can also create leaves with extra pipe cleaners
 Nature Clay Impressions
Clay impressions are a fun and simple little project but make for beautiful decorations and memories. Before you get started, go for a hike or walk through the outdoors and pick some leaves or plant materials that catch your eye. Be mindful and do research before you pick something – you want to make sure you are not picking a protected flower or plant.
To make the clay, you will need the following:
- Flour
- Salt
- Water
Mix together equal parts flour and salt – add teaspoons of water and continue mixing until a soft, smooth dough is formed. Grab a piece of the mixture and roll in your hands to form a ball. Put the ball down on a sheet of baking paper with flour sprinkled over. Use a rolling pin to roll the dough to at least ¼ inch thickness. At this point, you can create any shape you’d like using a cooking cutter.
Once you have prepped your clay to the thickness and shape you want, take your flower or leaf and press it into the clay mould. After, lift the flower or leaf to reveal a nice pattern on the clay. Allow the clay to set by leaving it out for approximately two days in a well-ventilated room. Alternatively, you can bake the clay at 100 degrees for approximately 3 hours. Once the clay impression is dry, you can leave as is or add some paint!
Faux Stained Glass
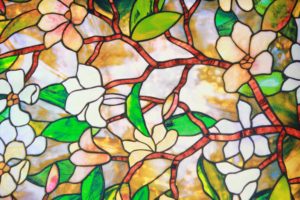
Stained glass is beautiful but can be fairly expensive so why not try your hand at a faux stained-glass project? There are a variety of ways to make faux stained glass, but using acrylic paint allows for the most intense colour results.
Supplies:
- Acrylic paint
- 1 bottle white glue / 1 bottle clear glue
- 8×10 photo frame (or other sheet of glass)
- Craft blade
- Painter’s marker (black tip)
- Super glue
- Clear acrylic spray sealant
- Paint brush
Before you get started, you will need to find a template that you want to use. If it is your first time, try going for a simpler design. Put the printed template underneath the glass and outline the picture with the black painter’s marker straight onto the glass. Once you’ve finished outlining, let the paint dry overnight. The next day, your design will be ready for paint. Mix one colour at a time – with 3 tablespoons of clear glue and a few drops of acrylic paint. Make sure the paint is thick so that the colours show up vibrantly.
 Painted Mason Jars / Flower Vases
 Nature Clay Impressions